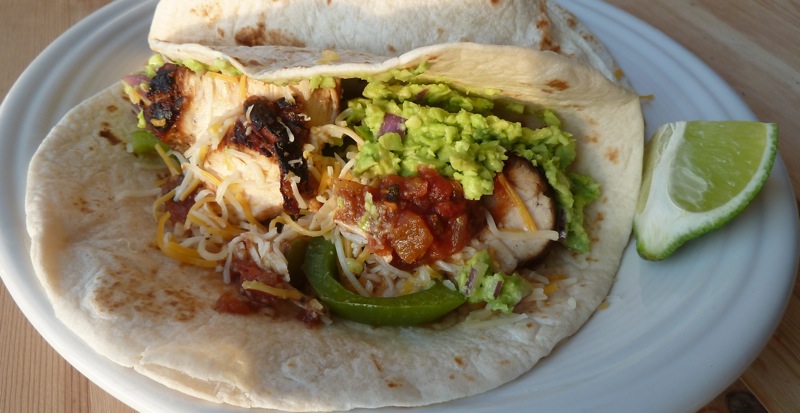
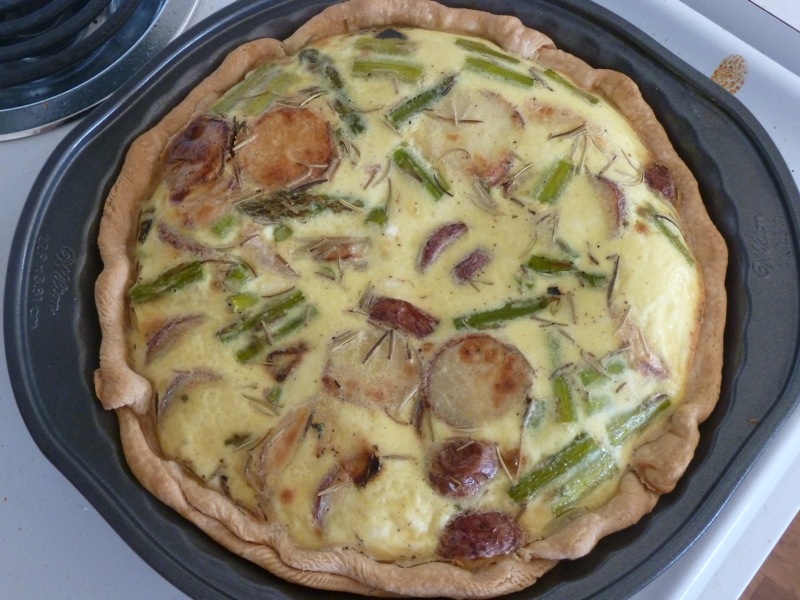
Thanks to Homesick Texan, I've finally learned how to make decent fajitas. We love fajitas so much in the Clack house, I can't really express how delighted we were that we've at long last, made delicious fajitas at home. Nothing reminds us of living in Texas like fajitas. Our kitchen still smells like peppers, limes and cumin and it makes us smile every time we walk in the door!
Well let's get to the recipe shall we?
Chicken Fajitas
Source: Homesick Texan
Serves: 6
For marinating the chicken:
1/4 cup lime juice
1/4 cup olive oil
1 tablespoon balsamic vinegar
1 teaspoon Worcestershire sauce
6 cloves garlic
1 teaspoon ground cumin
4 serrano chiles, stems removed and chopped
salt and pepper to taste
2 pounds boneless, skinless chicken breasts (if the breasts are quite large, I would recommend cutting them in half and then marinating. Our chicken was so big it was hard to cook it all the way through without burning the outside.)
For the fixin's:
2 tablespoons vegetable oil
2 bell peppers, seeds and stems removed and sliced.
1 medium yellow onion, sliced
salt to taste
12 flour tortillas
guacamole, salsa, shredded cheese, refried beans, whatever you like on your fajitas!
Mix together the lime juice, olive oil, balsamic vinegar, Worcestershire sauce, garlic, cumin and serrano chiles in a blender until smooth. Add salt and black pepper to taste. Pour over the chicken and marinate for at least 1 hour in the refrigerator.
When you're ready to start cooking, set the oven to 200 or 250. Wrap the tortillas in aluminum foil and place them in the oven. This way they will be warm when it is time to eat!
Heat 1 tablespoon vegetable oil in a skillet over medium heat. Remove the chicken from the marinade and cook until done, about 5 minutes per side (or until the inside is 160 degrees). Remove the chicken and let it rest while we cook the peppers and onions.
Heat the other tablespoon of vegetable oil in the skillet and saute the onions and peppers over medium heat until they are tender, about 10 minutes. Add salt to taste.
Slice the chicken and serve with the pepper and onions in the warm flour tortillas. Then top with your favorite fixins! As you take your first bite, close your eyes and pretend you are on a beach drinking a margarita. This last step is optional, but I highly recommend it!


 RSS Feed