Yesterday, my friend Corinne and I went to the Capital of Texas QuiltFest! It was so incredible! I learned so much about quilting and gained a deeper appreciation of the techniques. Most of the quilts were in a more traditional style and didn't really appeal to my taste as far as patterns or colors go. But, the piecing of fabrics and stitching skills were jaw-dropping! So, as you look through all these pictures, try to imagine a little old lady actually sewing all these tiny fabric shapes together (sometimes by hand!), and pay attention to the beautiful stitching and how it enhances the pattern.
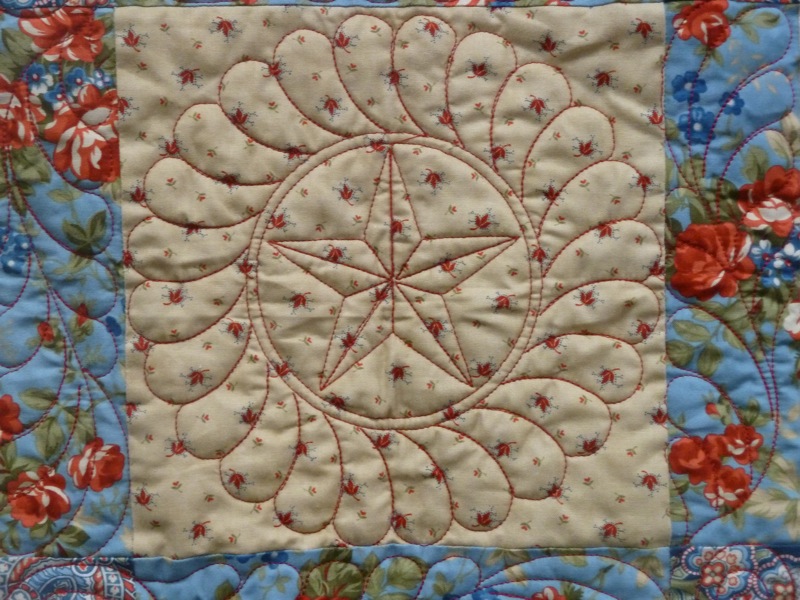
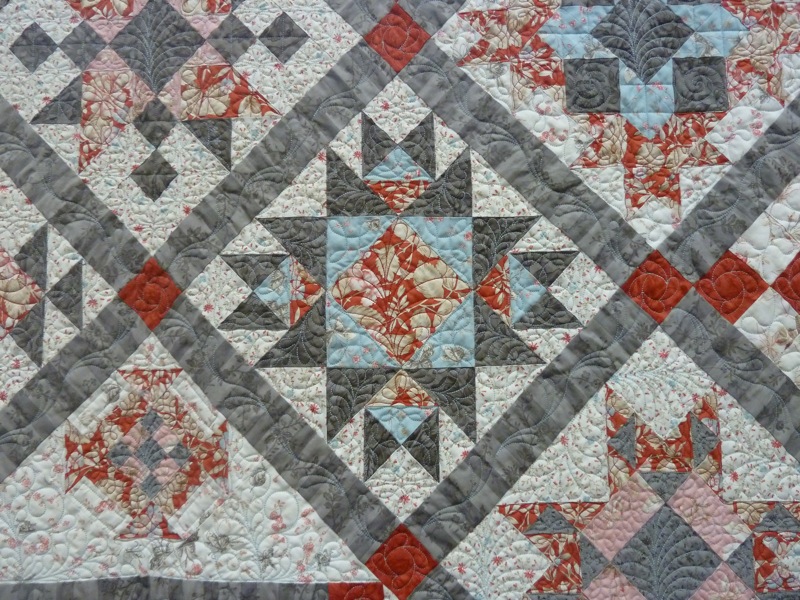
I love the red thread and how it contrasts with the blue and roses fabric. Plus, you gotta love the lone star of Texas!
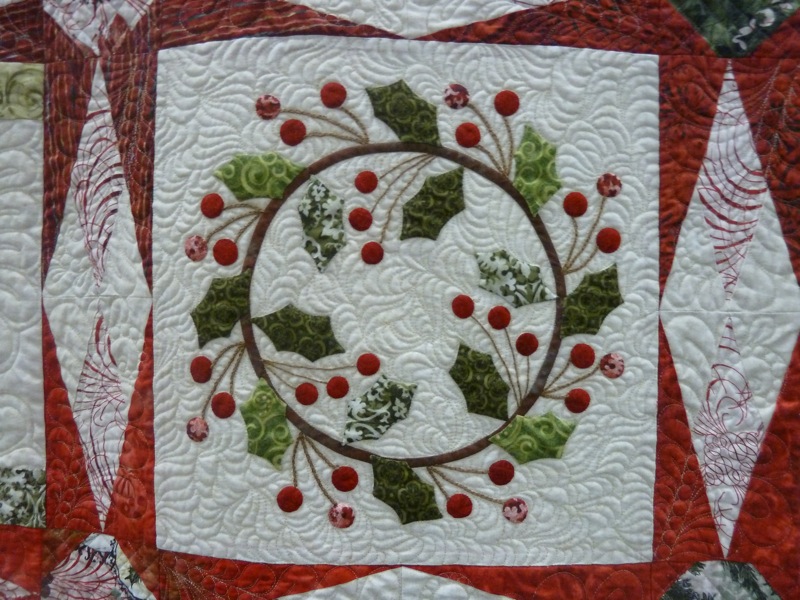
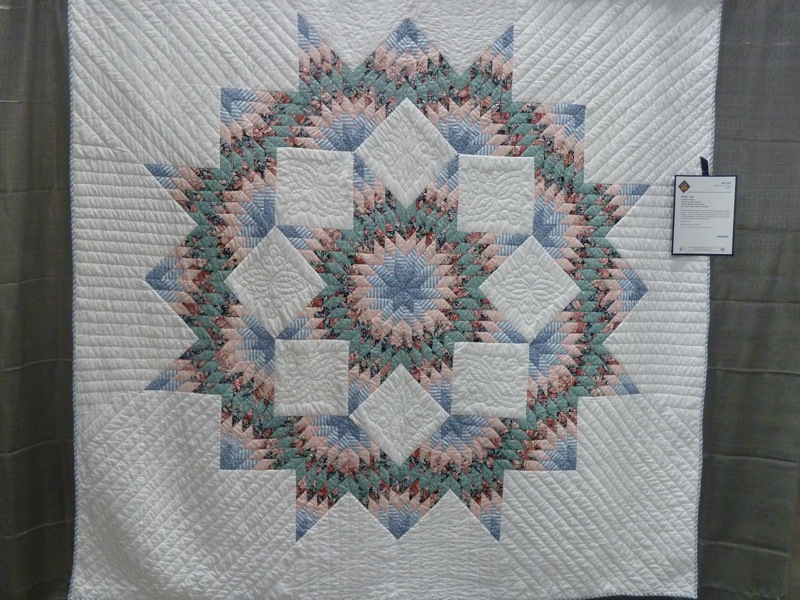
If I remember correctly, the wreath is an applique done by hand! I also love all the rippling contours of the stitching.
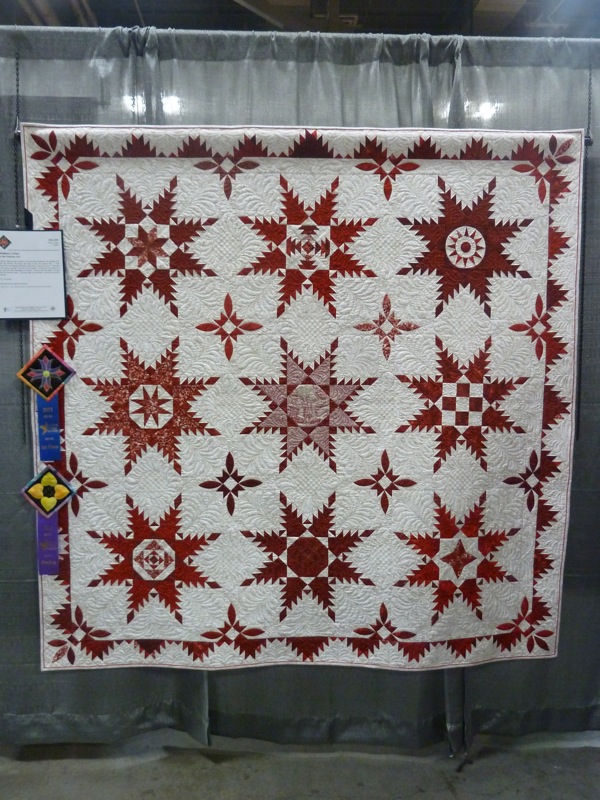
I learned that as far as traditional quilts go, I'm partial to the red and white styles. It feels very Norwegian to me.
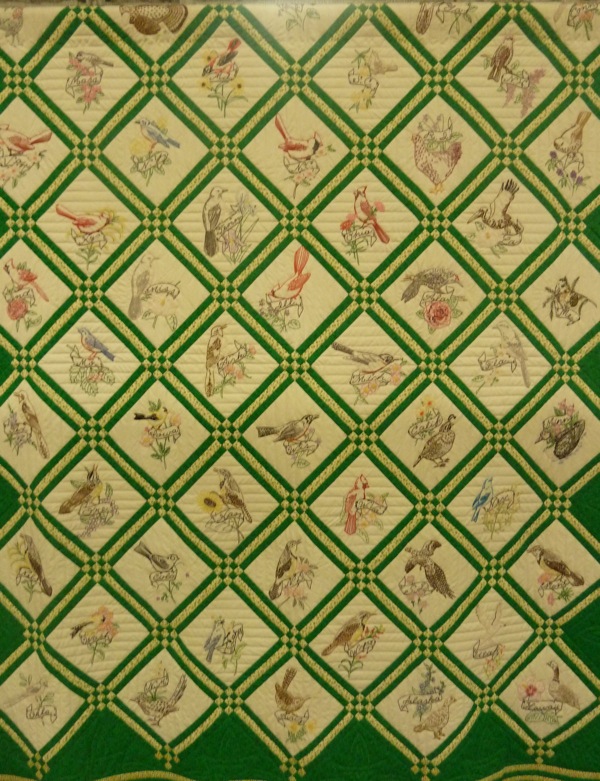
This quilt features all 50 state birds and they are all hand embroidered!
Ugh, it's so simple and classic I looove it!
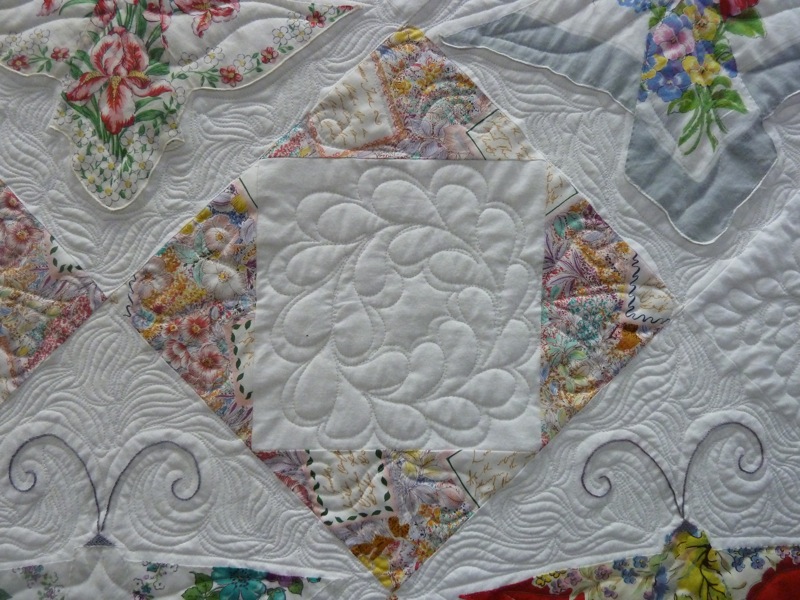
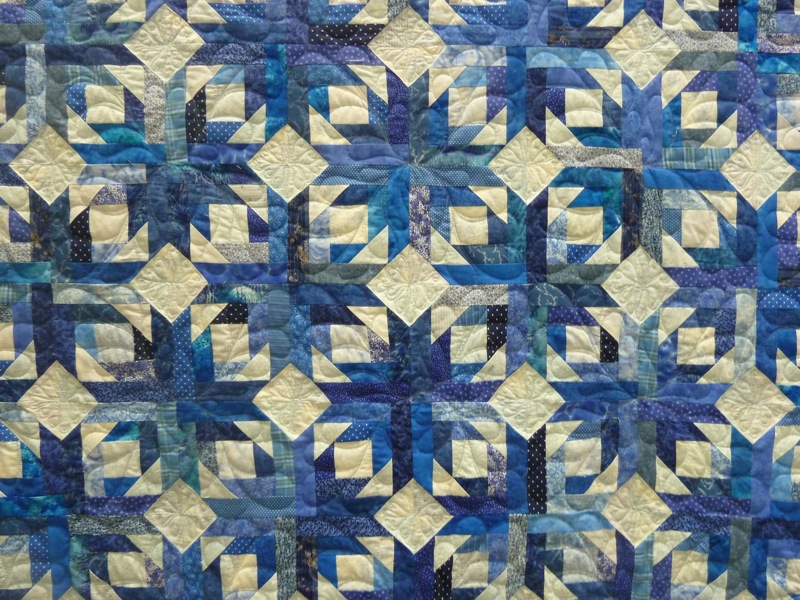
I love how pure white fabric makes the quilting stitches really pop. In this quilt, I like how the more busy wavy quilting flattens out the negative space while simpler stitches allow the squares and butterflies to be puffier. This quilt seemed the snuggliest to me in the entire QuiltFest. 
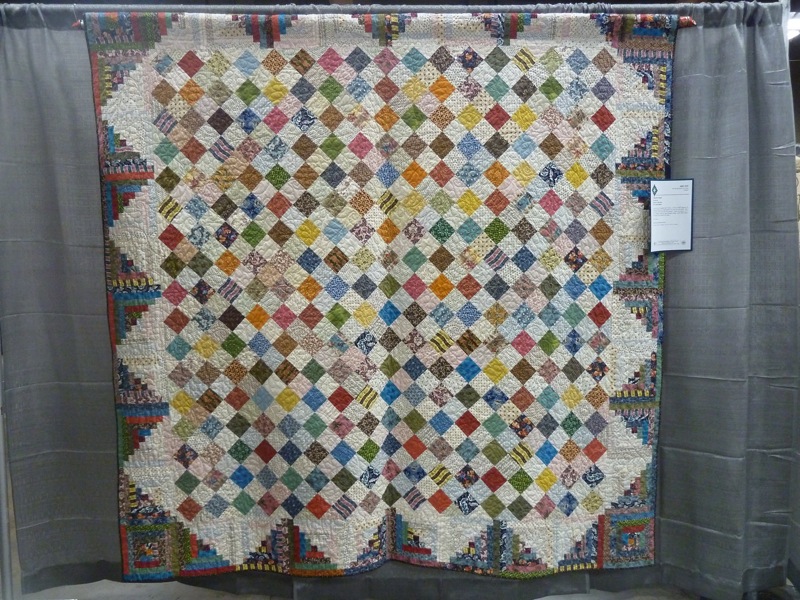
I'm pretty sure this is called a scrap quilt because it is made from bajillions of fabric scraps. So many tiny pieces all cut and pieced perfectly! If you look closely you can see that even the white space is actually tons of different paler fabrics!
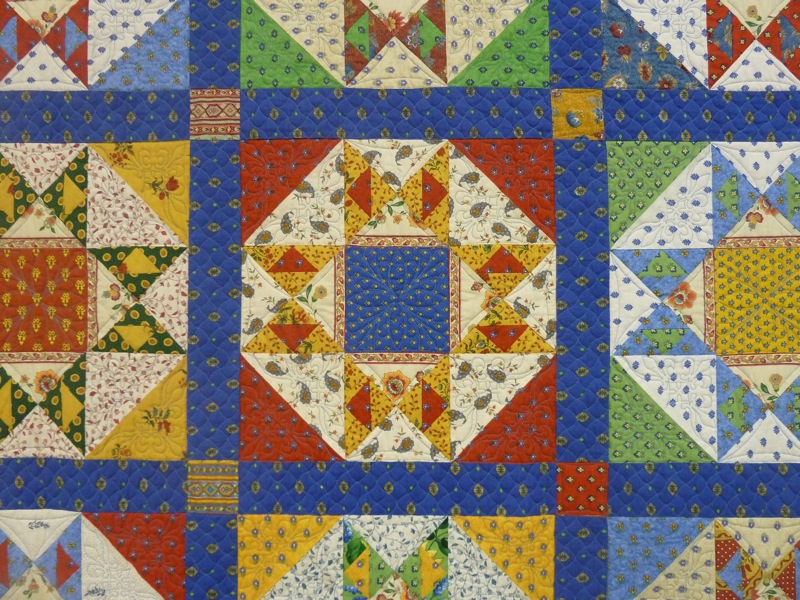
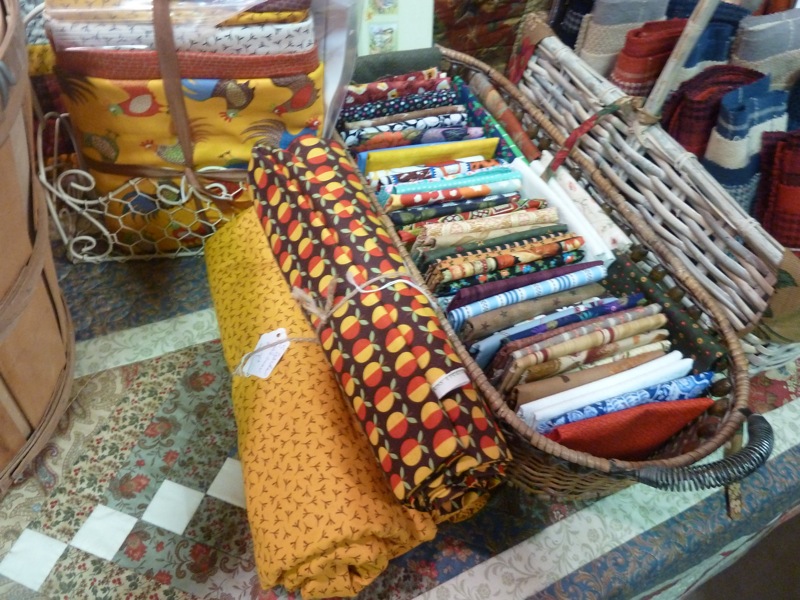
The colors of this quilt evoke the French countryside just perfectly. It's so La Madeleine. 
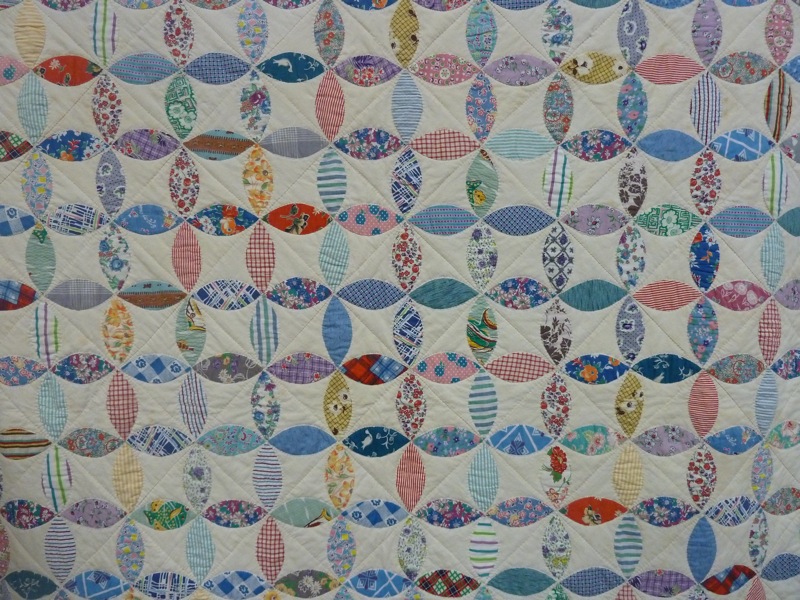
This is a wedding ring quilt with fabric from the 1930's. Or at least the patterns are, they may be modern reprintings of 1930's patterns. It's so lovely. 
I love the kaleidoscopic effect of the diagonal stitching on the corners of the quilt. So smart. 
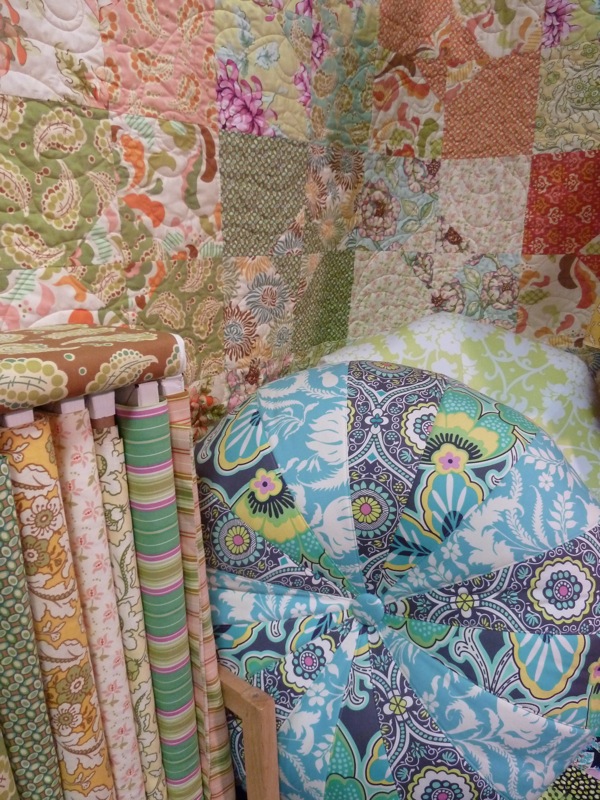
I love the subdued hues of this quilt. It helps tone down the busyness of these fabrics.

There were a few avant garde quilts:
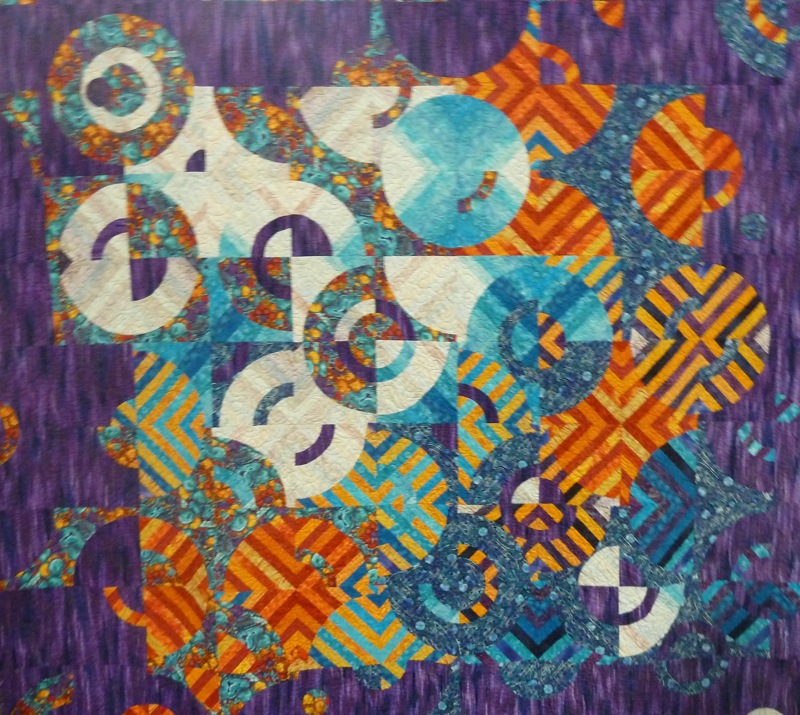
Can you even imagine figuring out how to piece these fabrics together. It's so perfect.
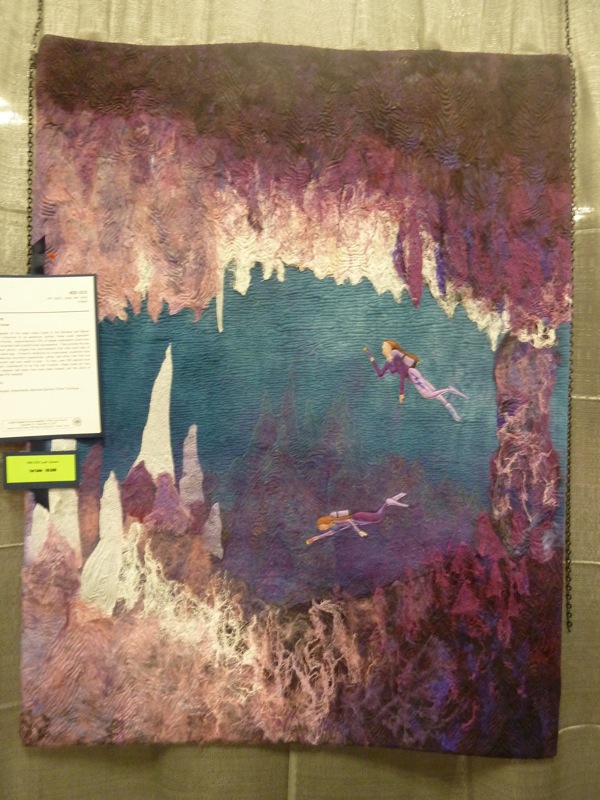
How do you even do this? It's amazing.
This is Harry Potter's bookshelf. Pretty cute idea, huh? You can see it won lots of rewards.

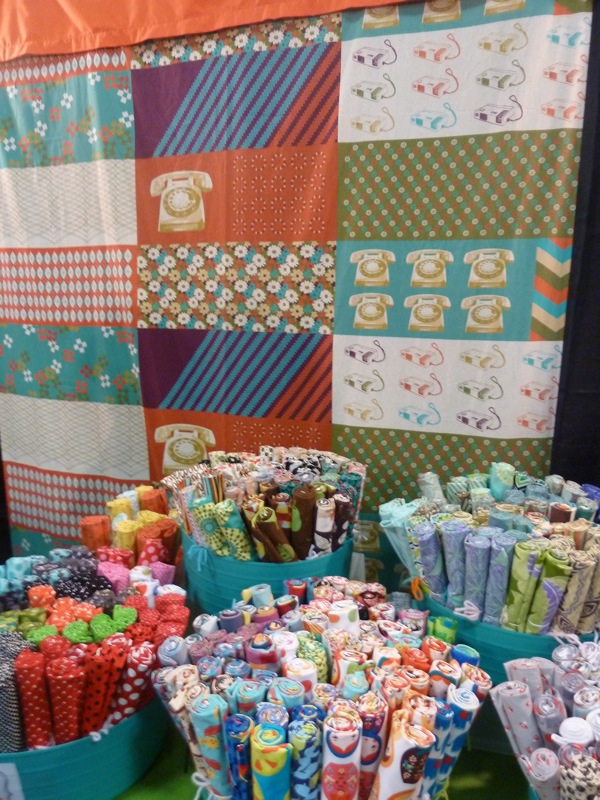
The shopping was also amazing. Jelly Rolls and Layer Cakes abounded! Isn't that cute quilting terminology?
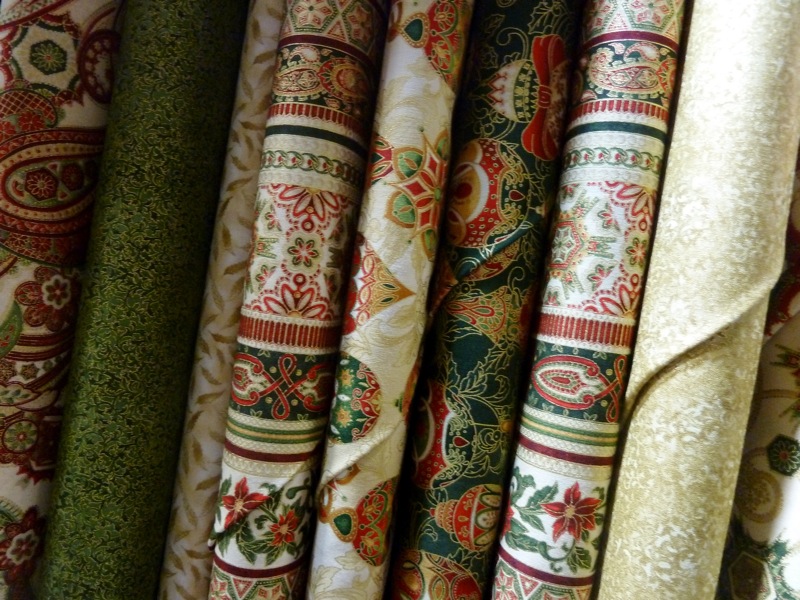
Lots of Christmas Inspiration.
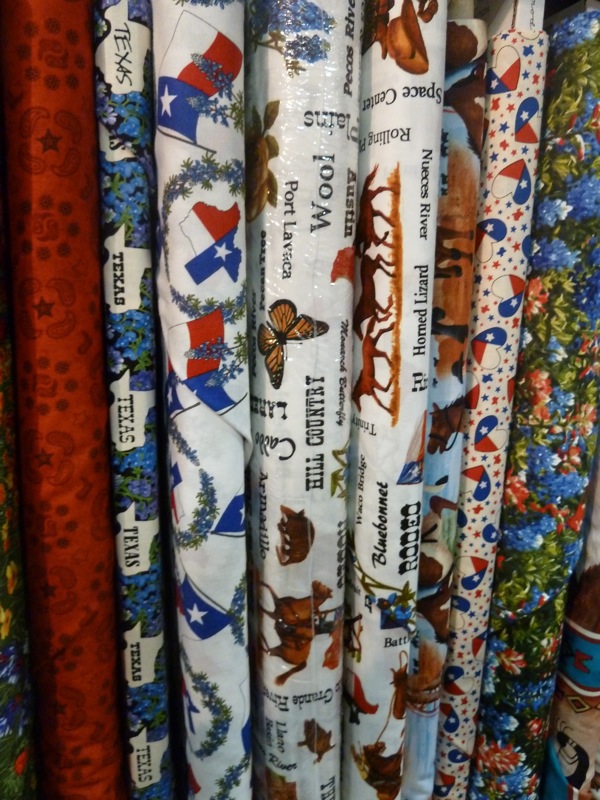
And of course, tons of Texas pride. I had no idea that there was such a community of quilters in Texas! 
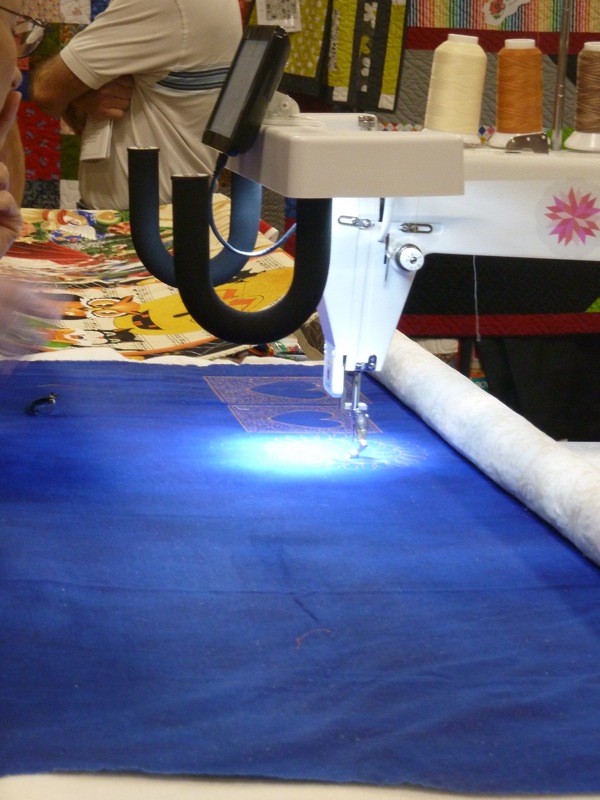
We also got to see magical quilting machines. The one below is called a "long arm machine" and as you can see it can do some amazing stitch work automatically.
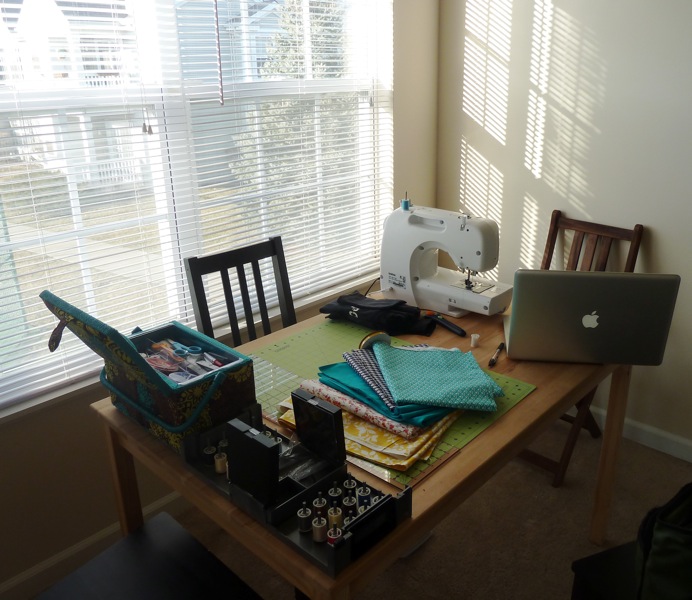
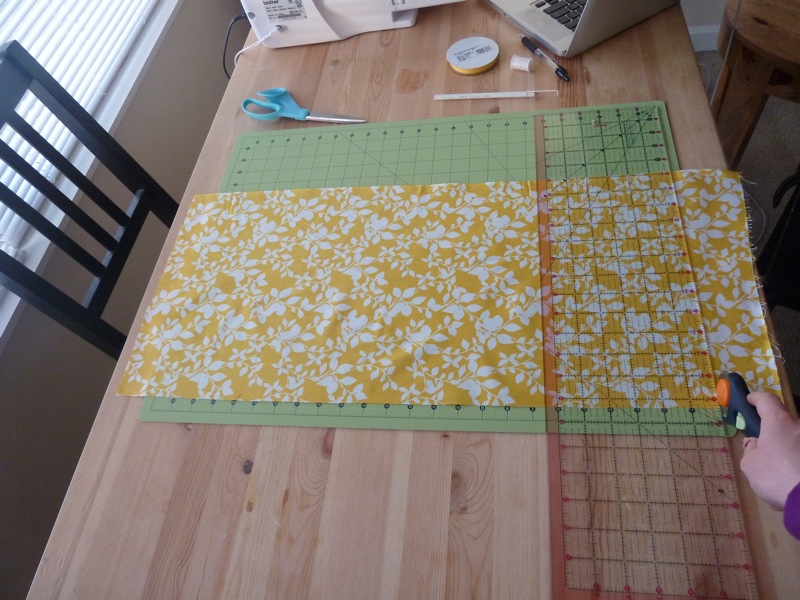
I'm so glad Corinne and I went. I left feeling really inspired and ready to finish my patchwork shower curtain I've been working on for months. I can't wait to show it to you guys!
 
My sister had twins! Yes, over a month ago, but I've never mentioned little Caleb and Connor on my blog before, cause I'm not a very good blogger. But we can still celebrate, yaaay!

My sister asked me to decorate a baby shower for her and I made this banner. It was such a blast to make. Again, I used directions from the Home Ec course. It's really worth the cost!
I know, I know. There should be an apostrophe after the t. In fact it should say "They're twins." But that would be too long. I couldn't figure out if the apostrophe should have its own circle or if it should just be next to the t. The crafter in me decided to leave it out, but my grammar elitist side cringes every time I look at this picture!

Discuss: What is more important in a creative endeavor, beauty or  correct grammar? : ) 
 
Check out this cute little lady I made for my niece on her 2nd birthday! I used the instructions from that Home Ec course I'm always raving about. Right now my sewing machine is all packed up in a moving truck somewhere on his way to our new apartment. I can't wait to get him out and start sewing again! (It's a he because it's a Brother machine.) In the meantime, I'll just post some old projects I've made but been too busy to write about.

This is a great project for new seamsters because you basically make your own pattern and use whatever colors/patterns you want. I had these fabrics on hand that I thought complemented each other well.
Then I drew this simple pattern.
I cut out all the fabric pieces, embroidered some eyes and a little nose on the face, and then made some changes to the pattern. I realized the round tummy would fray if I just sewed it on as I originally planned, and I didn't know how to fix that with my mediocre skills, so I just made it a rectangle instead.
Then I sewed all the pieces on the front and back.
I also made a yarn pom pom and sewed it on the back by hand. See that bunching when I sewed the tummy onto the orange fabric? I don't know what happened there! Anyone have tips for how to avoid that? 

Then I sewed the front and back together, so the bunny is inside out.
I left a space so I can turn the bunny outside out, and then stuff it. You have to sew that opening by hand, it was totally the hardest part for me.
For some reason the ears curve in towards each other after I turned the bunny outside out. Like I said, I have mediocre skills. Does anyone know how I could have kept the ears from going all wonky jog? 

In the end, she's still real cute right? I love her, and I hope Delaney will too!
 
Doesn't it just make you smile? I love the Japanese parasol fabric and I can't wait to use it for more projects. It was pretty easy to make, too! Let's take a closer look, shall we?
I loooove it! It definitely brightens up a dreary chore. This was another project from the Home Ec course. I'm learning a lot!
 
I made something new! It's definitely not perfect, but it works, and I think it's pretty. This pattern is also from the Home Ec course. It's a place for me to keep my double pointed and interchangeable needles neat and organized!
 
Since I got my new sewing machine in the mail I've been on a sewing frenzy! Let me show you all the stuff I made!
It's a reusable gift bag with a ribbon drawstring! Check out those clean lines!
A single napkin! I planned to make a set of 4, but it turns out napkins are harder than they look. But get a load of those perfect double hems!
And round bunting! Look, applique and curved stitching!

All these items are projects in the Home Ec course. I'm really enjoying it, and totally recommend it to any new seamstresses or seamsters!
 
This is my new favorite place, where I spent about 15 hours (I'm exaggerating...a little) working on my first project yesterday! It's perfect! The lighting is great, although you can't really tell from this picture, plus there's plenty of space for all the stuff sewers  need! Sewers as in, people who sew, not underground pipes for sewage....now I see why they prefer the term "seamstress." Let's take a tour, shall we?
This is my cutting mat and rotary blade. It's pretty amazing how precisely it can cut fabrics. And these fabrics and ribbon mark my first purchase from the fabric store! *squeal*
This is how I use the cutting mat, I hope I'm doing it right!
These are all my notions and thread.
And this is the machine, itself! I was trying to think of a name for it, but I think I'll just call it "brother." That way I can reference Full Metal Alchemist's Alphonse and make Arrested Development jokes while I talk to it...hermano.
And if you will look to your right, you will see beautiful sunsets. Pretty great sewing nook, right?

Do you have a favorite place in your house to do work or crafts?